Ninenox Developer
Menu
Blog
About
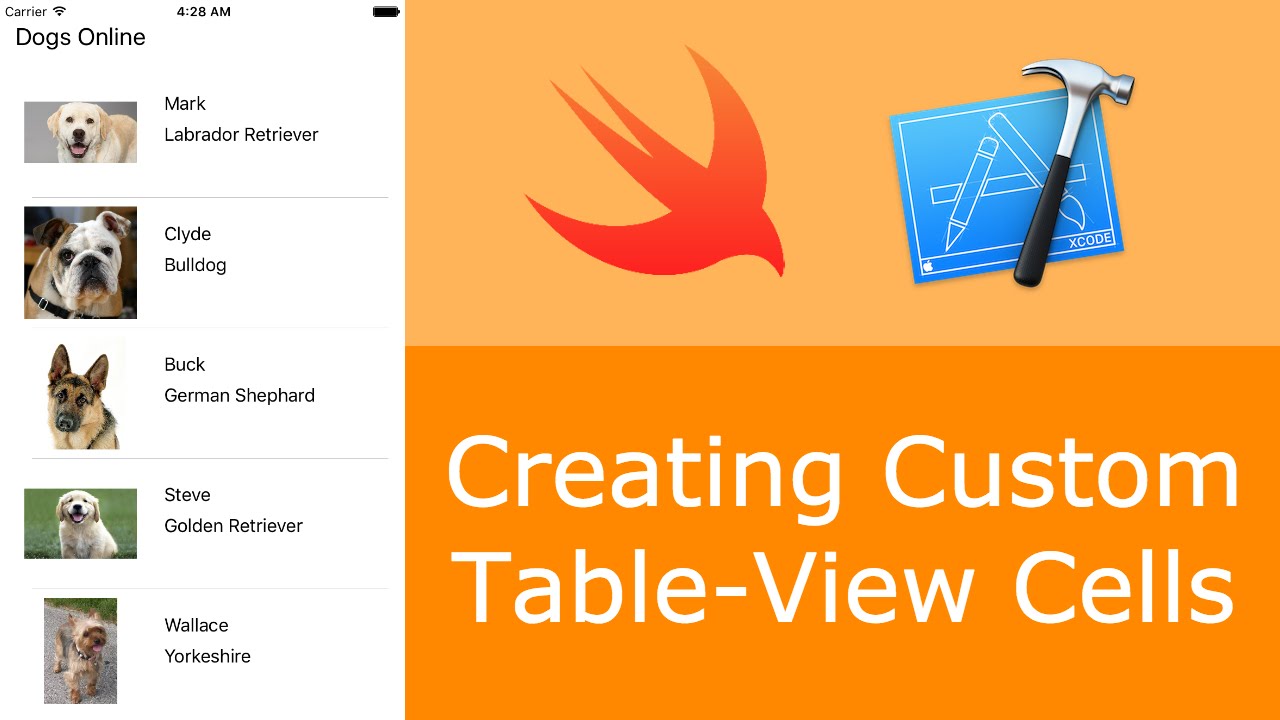
การสร้าง ui แบบ coding อย่างเดียวกับ UITableView
การสร้าง ui แบบ coding อย่างเดียวกับ UITableView