Ninenox Developer
Menu
Blog
About
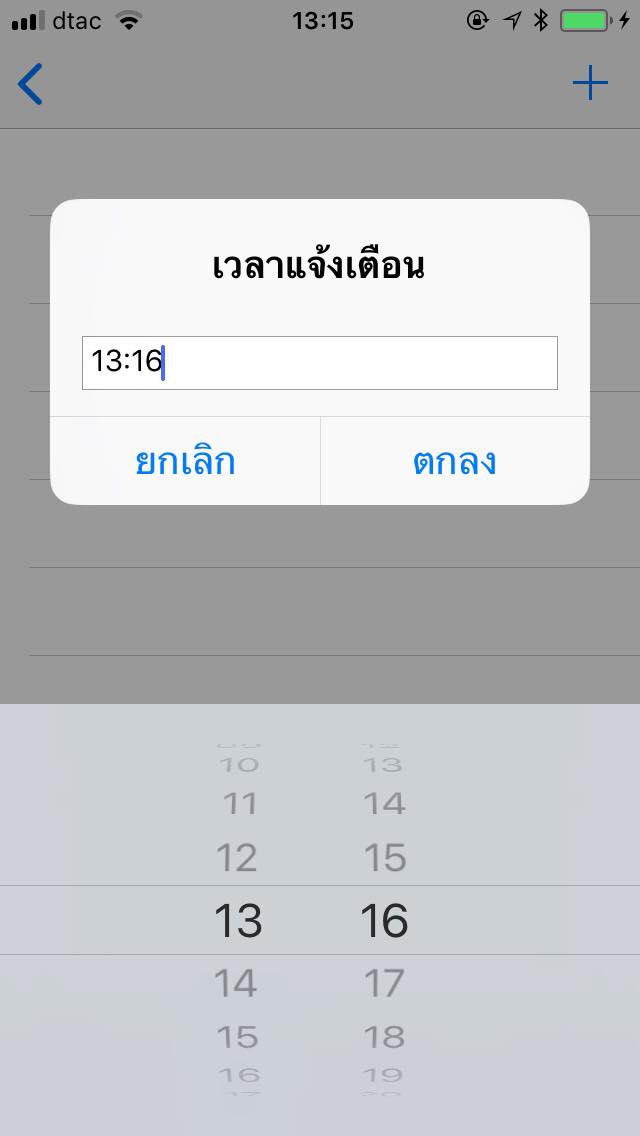
การใช้ textField ใน alert ของ swift ทำอย่างไร
การใช้ textField ใน alert ของ swift ทำอย่างไร